Shop
Article: How to Level Up Your Coffee with Latte Art
How to Level Up Your Coffee with Latte Art
Learning latte art is one of the most rewarding parts of making coffee at home. It adds a touch of creativity and is the perfect way to take your coffee to the next level, especially if you're just beginning your coffee journey. This guide will walk you through the essentials of making latte art, including the necessary materials, general guidelines, and common mistakes.
Essential Tools You’ll Need to Start
Before you get started, make sure you’ve got the right equipment. Having the proper tools makes learning much easier and your results more consistent. Luckily, latte art doesn’t require a lot of extra equipment. Check out the Gemilai website for accessories and tools!

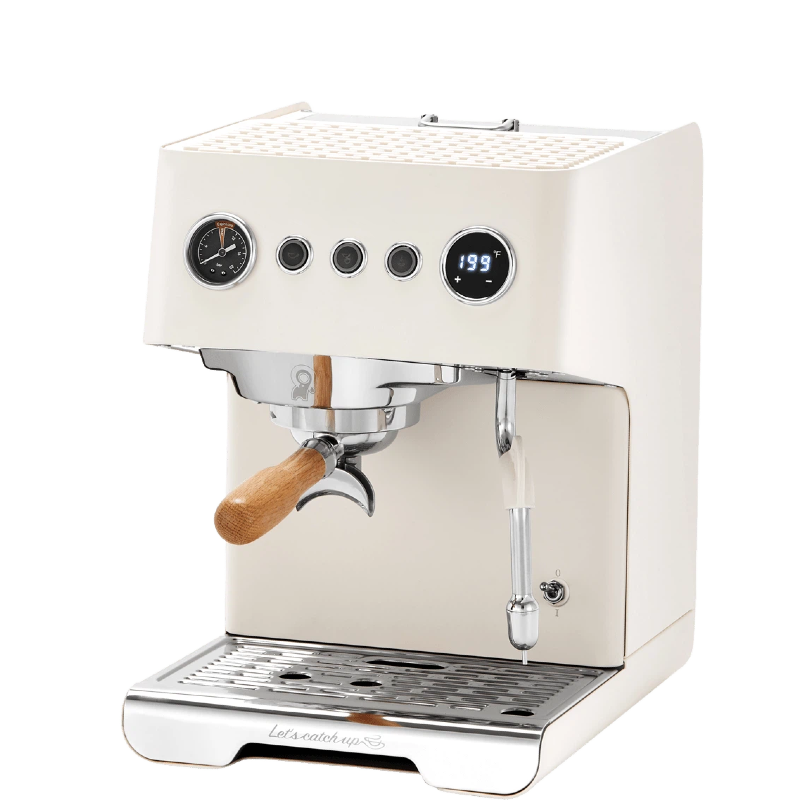
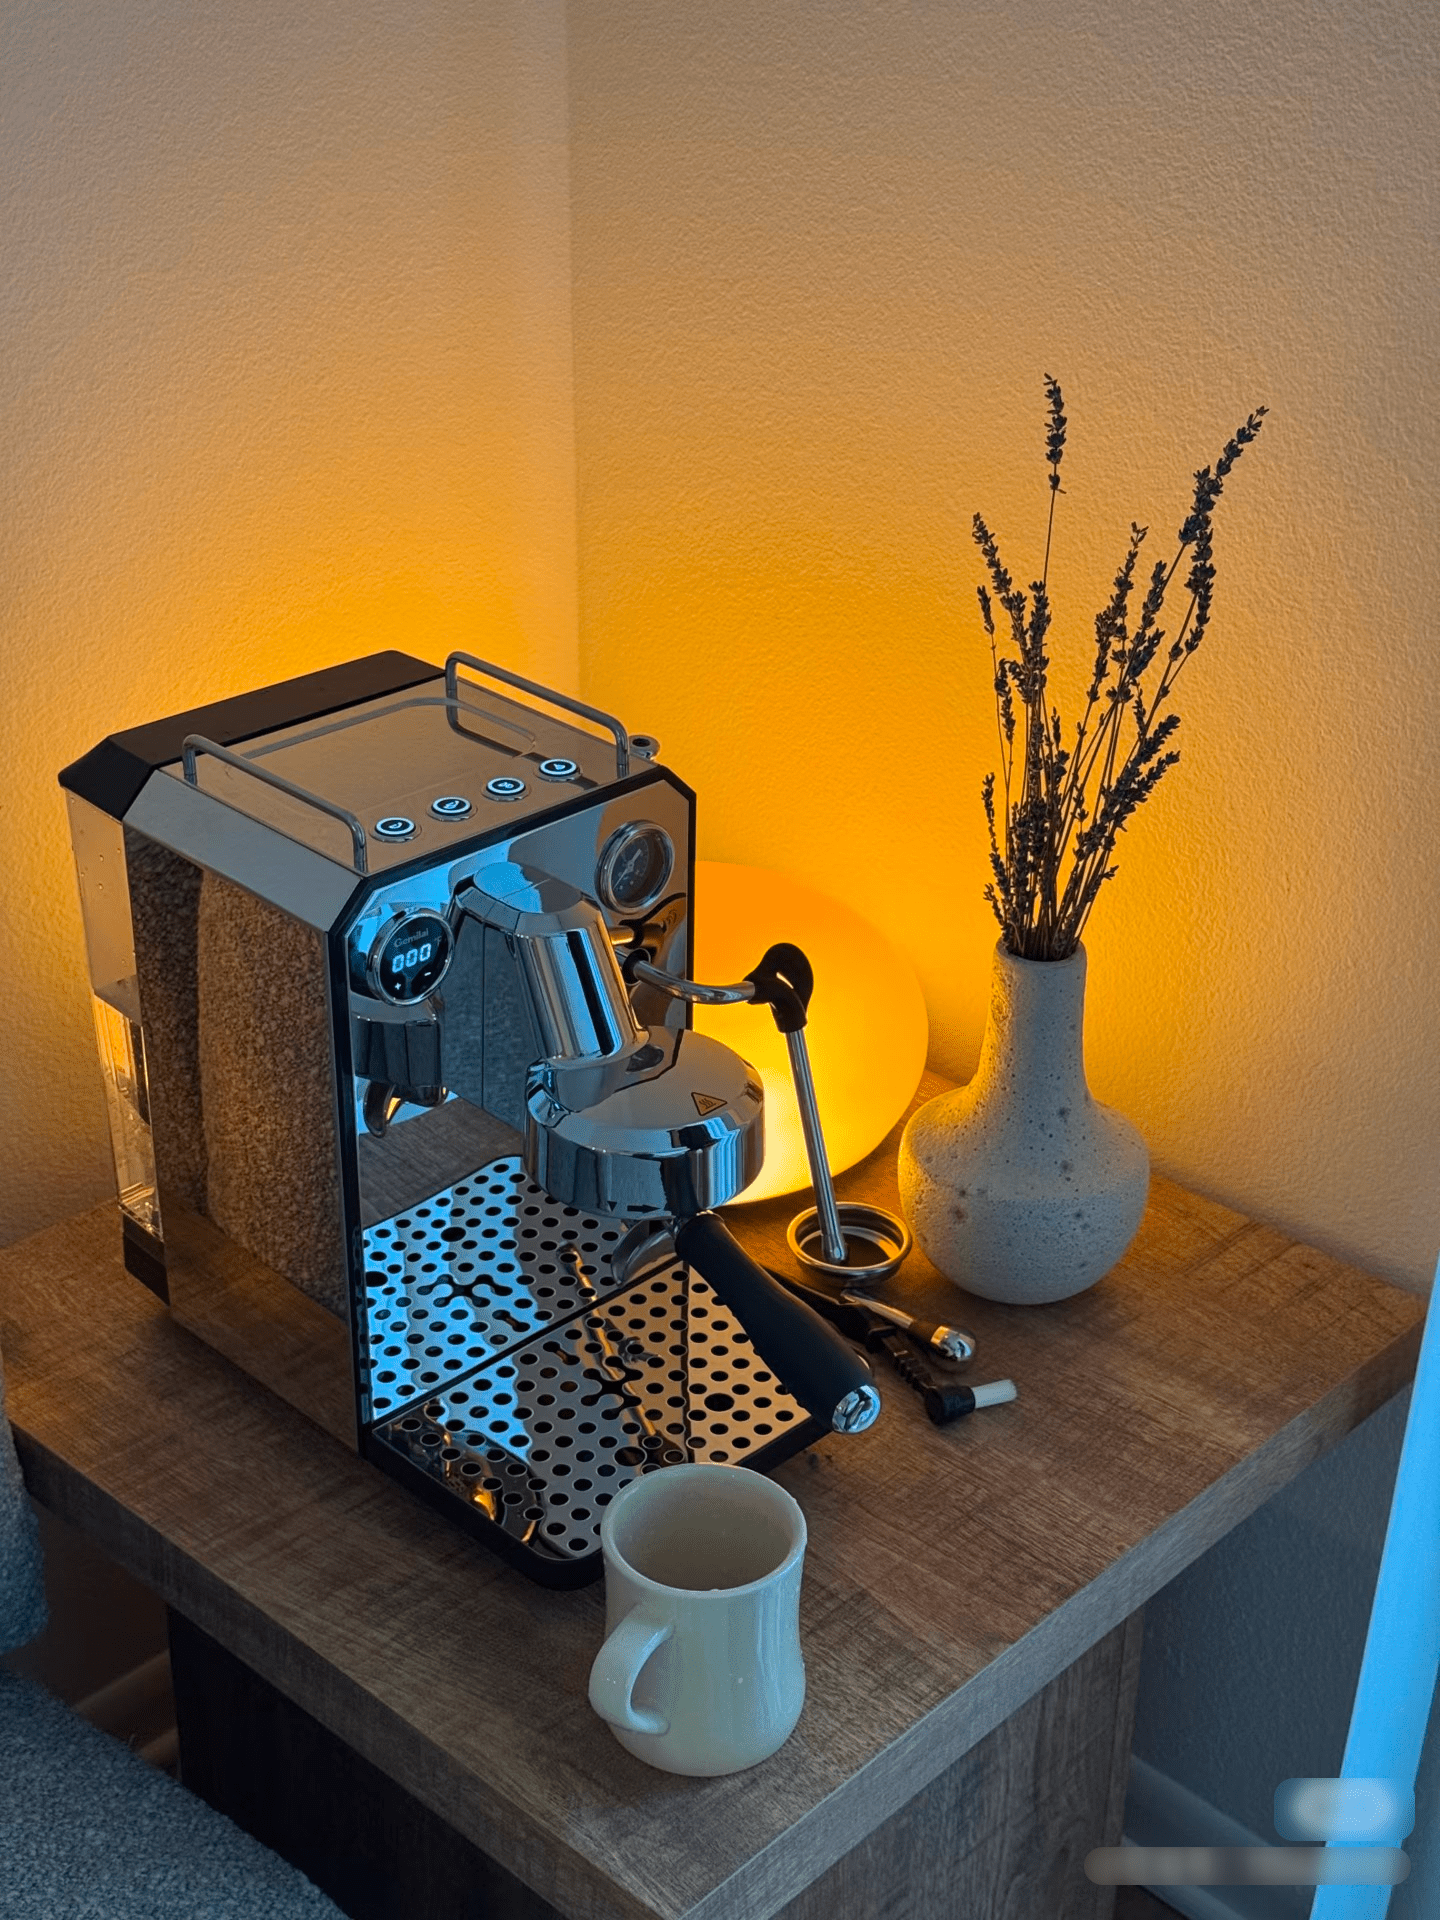
Espresso Machine with Steam Wand
- You need espresso and a quality steam wand to make latte art. If you're new to pulling shots, check out our Beginner’s Guide: How to Get Started with an Espresso Machine on our website for more information.
Milk Frothing Pitcher
- The pitcher you’ll use to froth your milk and pour from. The narrow spout allows for precise pouring.
Latte Art Cup
- A cup that has a wide surface area will be more comfortable when learning to make a latte pattern. Look for cups that are short, wide, bowl shaped, and easy to hold.
Thermometer
- As a beginner, it's more difficult to ensure the correct milk temperature. A thermometer can help you reach the ideal range between 140-150°F (60–66°C)
Steaming the Milk
Having a good milk texture is vital to making good latte art. You want to look for a glossy, paint-like texture.
-
Fill the pitcher with cold milk
- The amount of milk depends on the shots of espresso and desired intensity.
-
Aerate the milk for 2-3 seconds
- Submerge the tip of the wand near the surface of the milk and away from the center of the pitcher. Turn on the machine to begin aerating. You should hear a hissing sound.
-
Steam the milk
- Submerge wand toward bottom of pitcher to get milk to spin in a whirlpool motion. Make sure the wand is in the middle of the pitcher to help swirl the milk completely.
-
Heat until 140-150°F (60–66°C)
- You can use a thermometer for more precise measurements, or stop when the pitcher almost feels too hot to touch.
-
Groom the milk
- Swirl and tap the pitcher on a counter to help integrate the foam with the liquid. Tapping helps break up large bubbles and swirling helps incorporate the foam.
What Perfectly Steamed Milk Looks Like
- Smooth, glossy surface
- No visible bubbles
- Texture resembling wet paint
- Flows easily and smoothly when you tilt the pitcher
Pouring the Design
Now it’s time to pour the actual design! Every pattern starts with a base pour, followed by pouring the pattern.
-
Base pour: Mixing the espresso and milk
- Start by giving the espresso and milk a quick swirl to keep their components from separating.
- Tilt the cup towards the pitcher and pour a stream of milk.
- Pour from around 4 in (3 cm) high to allow the milk to sink below the coffee. Gently swirl the pitcher or cup while pouring to properly integrate.
- Start pouring lower at around 50 percent full and fill up to around 60-70 percent full.
- Simple patterns such as hearts and tulips are easier when the cup is slightly more full.
- More advanced patterns such as the rosetta are easier when the cup is slightly less full.
-
Pouring the pattern
-
Heart
- After the base pour, lower the pitcher and maintain a steady pour in the center.
- Foam will slowly start to sit on the surface, creating a white circle on the center of the surface.
- Once your mug is almost full, lift the pitcher back up a few inches. Then cut through the circle to create a heart.
-
Tulip
- This pattern builds on the heart pattern. Begin with your base pour and lower the pitcher to form a small white circle.
- Once you’ve poured your first base layer, lift the pitcher back up to pause the pour.
- Move the pitcher slightly forward and pour a second circle on top of the first to create the second layer. You can add as many layers as you’d like!
- Finally, lift the pitcher back up and pull a line through all the layers.
-
Rosetta
- After the base pour, lower the pitcher and pour while wobbling the pitcher from side to side, creating rippled lines in the cup.
- Slowly move towards the center to the back of the cup while pouring and maintaining the wobbling motion. This creates the leaves of the rosetta.
- Once your leaf pattern reaches the top, lift and pull the pitcher back and pull through the center to create the stem of the rosetta.
-
Heart
Congratulations! You’ve just poured your first latte art. It may not look perfect yet, and that’s okay. Latte art takes a lot of practice and patience. Keep experimenting and most importantly, enjoy the process!
Common Mistakes
-
Incorrect aeration
- Not aerating enough produces flat milk with a thin layer of foam.
- Aerating too much creates a stiff, bubbly foam will be difficult to work with.
-
Milk temperature
- A temperature too high will burn the milk, resulting in a burnt taste and poor texture.
-
Steam wand placement
- Placing the steam wand too deep after aerating and during the steaming process will result in ineffective incorporation of the air bubbles.
-
Timing between espresso and milk
- Too much time in between the two processes can affect the quality of the final product as the espresso degrades and the milk begins to separate. For best results, combine the espresso and milk within 5 to 8 seconds of the espresso pull.
-
Speed of pouring pattern
- Pouring too slowly will result in a lack of design as the milk sinks.
- Pouring too quickly decreases your control, resulting in an unrefined pattern.
-
Height of pour
- Pouring your pattern from too high will cause the milk to mix into the espresso instead of sitting on top to form the design.
Conclusion
Learning to make latte art will take lots of time, practice, and patience. It's important to start with the basics and focus on perfecting one skill at a time. Master the process of steaming the milk, which is the foundation of good latte art, before you move onto practising designs. Practice simple designs like the heart, which is the easiest pattern for beginners, before moving onto more difficult designs. Don't be afraid to experiment with the overall process, such as the milk type, temperature, and steam wand placement. Making mistakes will be completely normal during the learning process, so don’t be discouraged! With enough time and practice, you’ll be confidently making latte art just as good as what you’d find in cafes.


Leave a comment
This site is protected by hCaptcha and the hCaptcha Privacy Policy and Terms of Service apply.